
Expert Reviewed
Updated Regularly
Finding the right nike trail trainers can feel overwhelming. Nike makes dozens of trail models. Each one fits a different foot type and terrain. This guide walks you through every step of picking the perfect pair in 2026.
You’ll learn how to match your foot shape to the right shoe. You’ll know which features matter most on the trail. By the end, you’ll feel confident buying your next pair. No more guesswork. No more blisters. Just the right shoe for your run.
Table of Contents
Key Takeaways
- The Nike Pegasus Trail 5 is the best all-around choice for beginners in 2026, with a 28.5mm stack height and versatile outsole.
- Go up half a size from your road shoe — trail shoes need 1cm of toe room to prevent blackened toenails on downhills.
- Choose 3-5mm lugs for mixed terrain and 5mm+ lugs for muddy or technical trails.
- Replace your nike trail trainers every 300-500 miles to maintain grip and cushion.
- The Nike Ultrafly and Nike Zegama 2 are top picks for long-distance and rocky terrain in 2026.
Quick Answer: How to Choose Nike Trail Trainers
Start by knowing your terrain. Pick shoes with shallow lugs for groomed paths. Pick deep lugs for mud and rocks. Then match the cushion level to your distance. Short runs need less padding. Long runs need more. Always try shoes on in the afternoon when your feet are largest.
What You’ll Need
- A tape measure or Brannock device for foot sizing
- Your current running shoes (to check wear patterns)
- A list of trails you run most often
- Thick trail socks you’ll actually wear running
- A budget range ($100-$200 covers most Nike trail models in 2026)
Step-by-Step Guide to Choosing Nike Trail Trainers
Step 1: Know Your Foot Type
Your foot shape decides which shoe fits best. Do the wet test first. Wet your foot and step on brown paper. Look at the print it leaves.
A flat footprint means you overpronate. You need more stability. A narrow footprint with a thin middle means high arches. You need more cushion. A balanced print means neutral feet. Most Nike trail shoes work for you.
Check your old shoe soles too. Wear on the inside edge means overpronation. Even wear means a neutral stride.
Pro tip: Visit a running store for a free gait analysis. It takes 5 minutes and gives you exact data.
Step 2: Identify Your Main Terrain
Nike makes trail shoes for different ground types. You need to match the shoe to where you run most.
Groomed gravel paths need light shoes with small lugs. Rocky mountain trails need beefier shoes with rock plates. Muddy forest trails need deep lugs and water-resistant uppers.
Write down the three trails you run most. Note the surface type for each one. This list narrows your options fast.
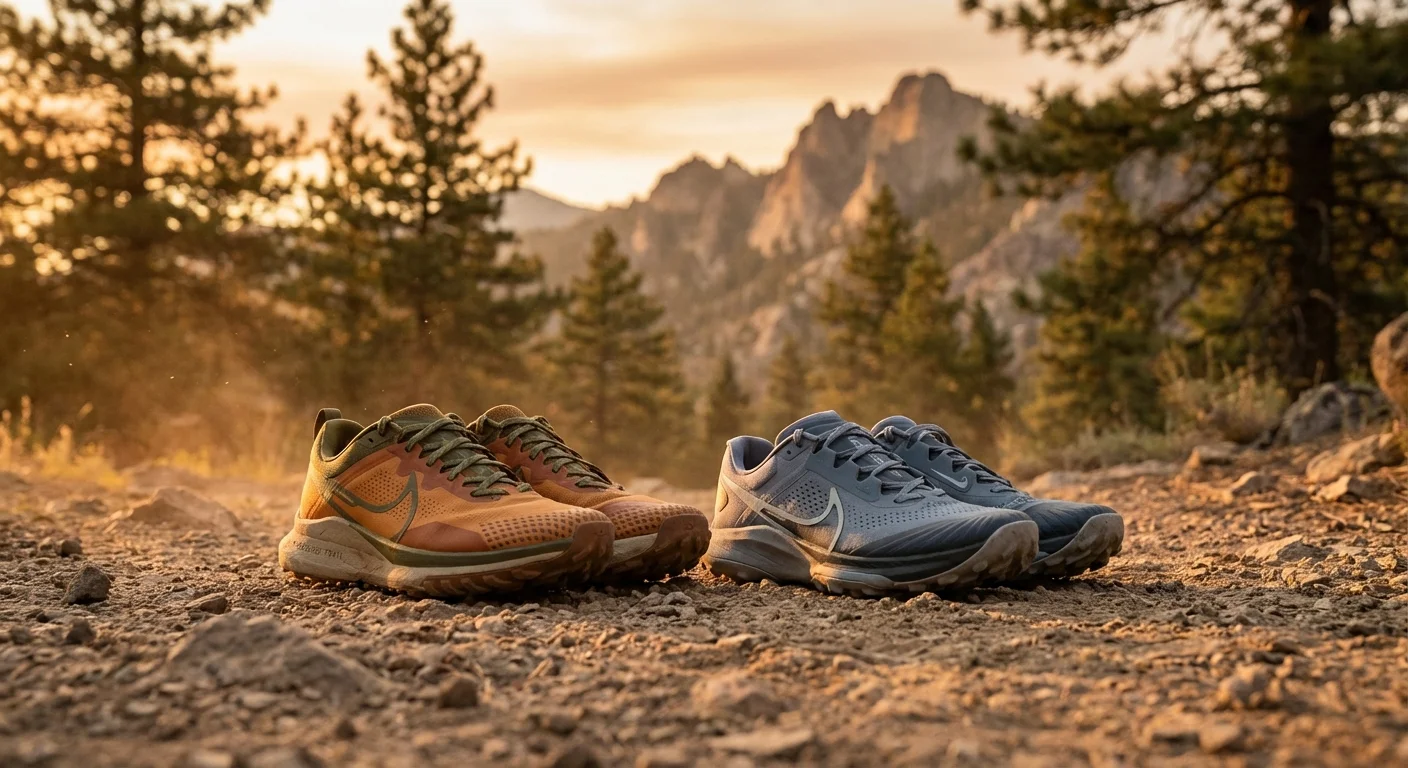
Pro tip: If you run on mixed terrain, pick a versatile shoe like the Nike Pegasus Trail 5. It handles gravel, dirt, and light rocks well.

Step 3: Choose the Right Cushion Level
Cushion matters more than most runners think. Stack height measures the foam between your foot and the ground. It’s listed in millimeters.
For short runs under 10 miles, a stack height of 20-28mm works great. The Nike Kiger 10 sits in this range. It’s nimble and fast.
For long runs over 10 miles, go for 28-35mm. The Nike Ultrafly has a 39.5mm stack. It’s built for ultra distances. More foam means less fatigue late in a run.
The heel-to-toe drop matters too. Most Nike trail shoes have a 4-8mm drop. Lower drops feel more natural. Higher drops suit heel strikers.
Pro tip: Don’t jump to max cushion if you’ve never worn it. Your ankles need time to adjust. Start with mid-level foam.
Step 4: Check Outsole Features and Grip
The outsole is your contact with the ground. Lug depth controls traction. Lug shape affects grip direction.
Nike uses different rubber compounds across its trail line. The Zegama 2 has sticky rubber for wet rocks. The Pegasus Trail 5 uses a firmer compound for durability on gravel.
Here’s a simple guide for lug depth:
- 2-3mm lugs: road-to-trail hybrid use
- 3-5mm lugs: mixed dirt and gravel trails
- 5mm+ lugs: mud, snow, and steep terrain
Look for a rock plate if you run on sharp surfaces. It’s a thin layer between the foam and outsole. It stops sharp rocks from bruising your foot.
Pro tip: Avoid deep lugs on hard-packed trails. They’ll wear down fast on firm surfaces.
Step 5: Get the Right Fit
Trail shoes fit differently than road shoes. You need more room in the toe box. Downhill running pushes your foot forward.
Leave about 1cm (a thumb’s width) between your longest toe and the shoe’s end. This prevents black toenails on steep descents.
Order a half size up from your normal Nike road shoe. Try shoes on in the afternoon. Your feet swell during the day. Wear your trail socks when testing fit.
The heel should feel snug but not tight. You don’t want any slipping. A sloppy heel causes blisters fast.
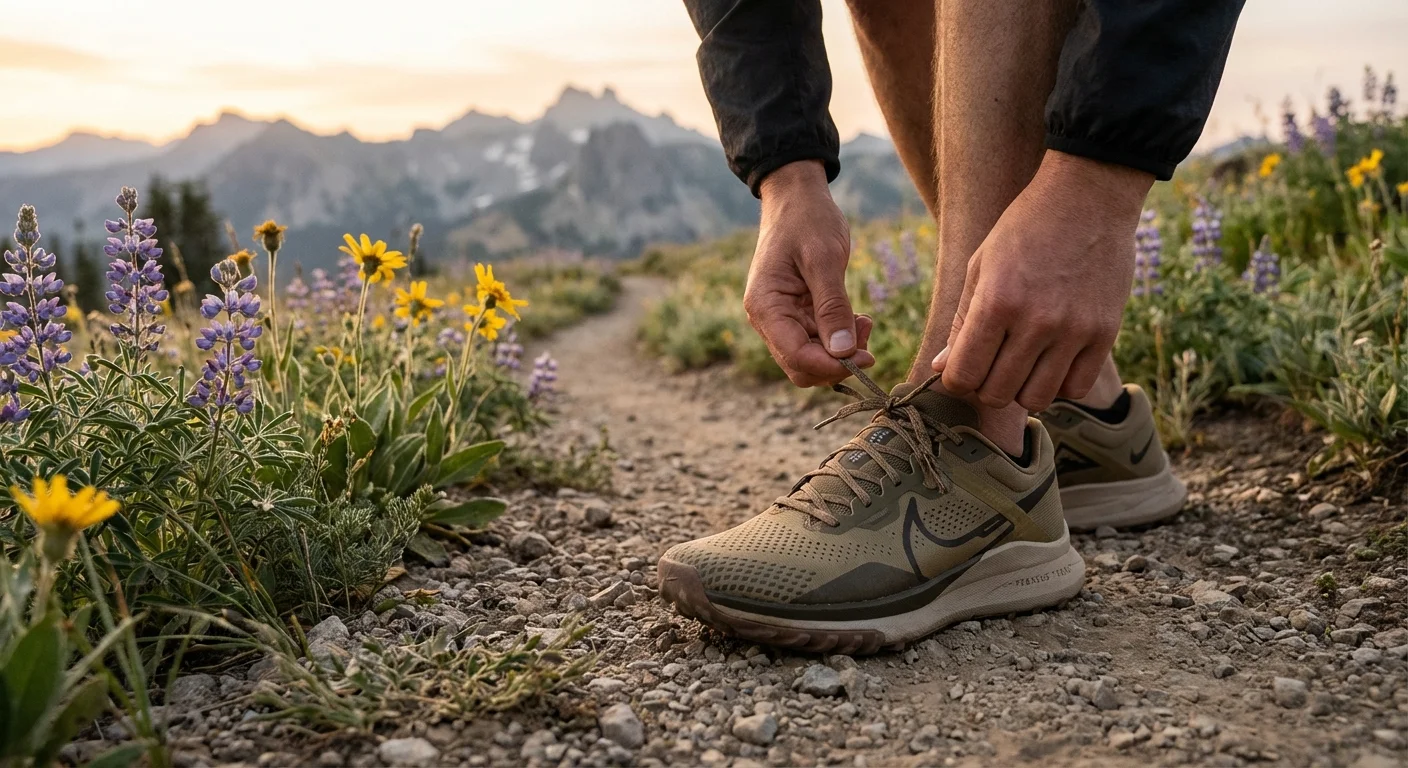
Pro tip: Lace your nike trail trainers using the runner’s loop technique. Thread the lace through the top eyelet to create a heel lock. This stops foot sliding on downhills.
Step 6: Pick a Model Based on Your Needs
Nike’s 2026 trail lineup has a shoe for every runner. Here’s a breakdown of the top picks.
Best all-rounder: Nike Pegasus Trail 5. It costs about $140. It weighs 10.5 oz. It handles most terrain well.
Best for speed: Nike Zegama 2. It costs about $160. It weighs 9.8 oz. It’s built for racing on technical ground.
Best for long distance: Nike Ultrafly. It costs about $185. It weighs 11.2 oz. It has maximum cushion for ultra runs. Not sure which to pick? Our brooks trail shoes guide walks through the trade-offs.
Best for beginners: Nike Juniper Trail 3. It costs about $90. It weighs 10 oz. It’s a simple, reliable entry shoe.
Pro tip: Buy two pairs and rotate them. This extends each shoe’s life by letting the foam recover between runs.
Step 7: Break Them In Before Race Day
Never wear new nike trail trainers on a long run first. You need to break them in. Start with short 3-5 mile runs on easy trails.
Do 3-4 short runs before a longer effort. Pay attention to hot spots. These are areas that rub or feel warm. They’ll become blisters later.
If hot spots appear, try different lacing patterns. Move the tongue around. Sometimes a small adjustment fixes the problem.
Pro tip: Walk around your house in new shoes for 2 days before your first run. This softens the materials and shows fit issues early.
Step 8: Know When to Replace Them
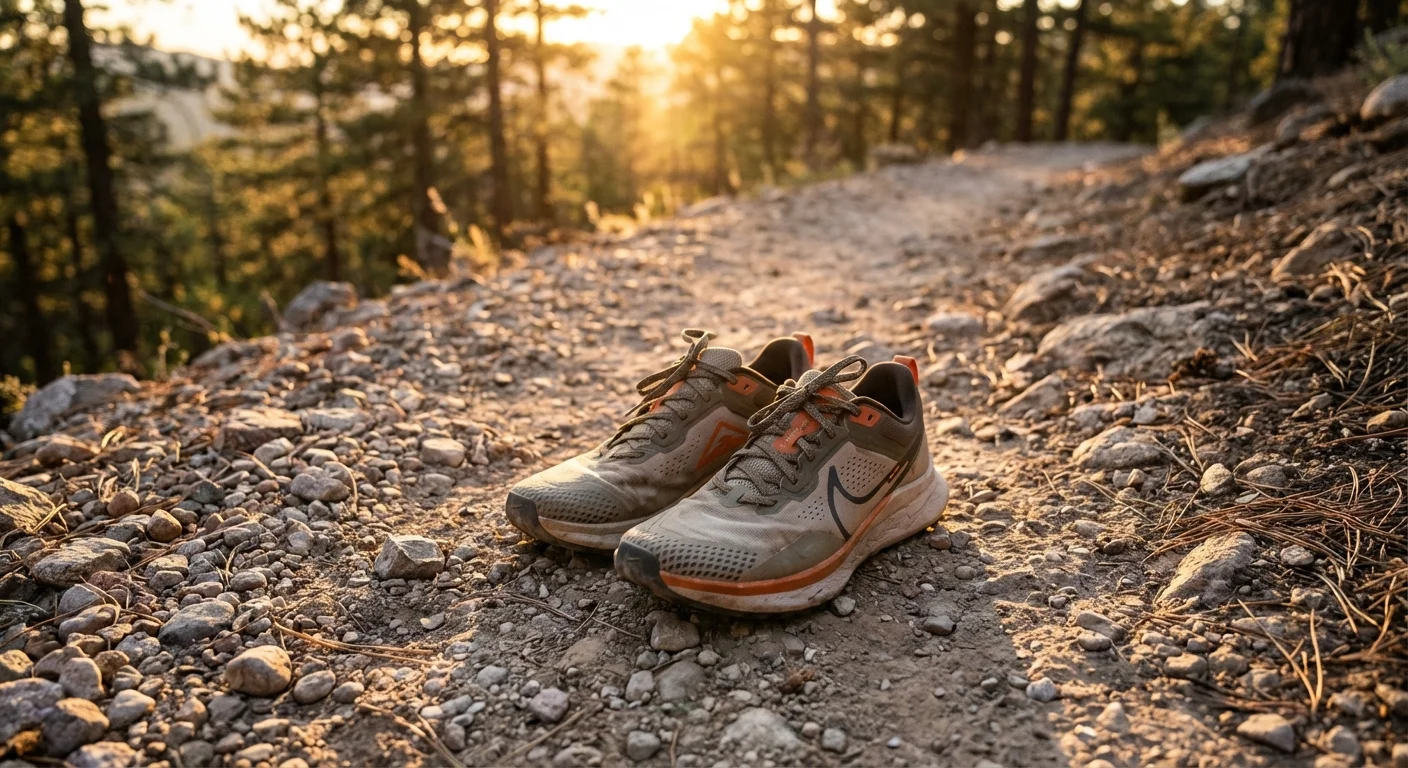
Trail shoes wear faster than road shoes. The rough terrain grinds down foam and rubber. Most nike trail trainers last 300-500 miles.
Check your lugs every month. If they’re worn smooth, you’ve lost traction. Check the midsole too. Press your thumb into the foam. If it doesn’t bounce back, the cushion is dead.
Track your miles using an app like Strava or Nike Run Club. Log each pair separately. Replace them before they cause injury.
Pro tip: Take a photo of your outsole when new. Compare it monthly. The visual difference shows wear you can’t feel yet. Before you decide, it’s worth reading our new balance running shoes deep dive.

Pro Tips for Getting More From Your Nike Trail Trainers
1. Use gaiters on sandy or rocky trails. Nike sells clip-on gaiters for some models. They stop debris from getting inside your shoe. This saves you from constant stops.
2. Clean your shoes after every muddy run. Knock off dried mud. Rinse with cold water. Never use a dryer. Air dry them with newspaper stuffed inside. Heat warps the foam.
3. Train on varied surfaces. Don’t stick to one trail. Mix gravel, dirt, rock, and grass runs. This builds ankle strength and tests your shoe’s limits.
4. Match your socks to your shoes. Merino wool socks wick sweat and prevent blisters. Darn Tough and Smartwool make great trail-specific socks. Avoid cotton at all costs.
5. Save your trail shoes for trails only. Running on pavement destroys the soft rubber and lugs. Use road shoes for roads. This makes your trail pair last much longer. Our adidas terrex review covers the specs and real-world performance in detail.
Troubleshooting Common Issues
Problem: Toe Blisters on Downhill Sections
Solution: Your shoes are too small. Go up half a size. Use the heel-lock lacing method. This keeps your foot from sliding forward. Also, trim your toenails before every run.
Problem: Ankle Rolling on Rocky Trails
Solution: Choose a shoe with a lower stack height. The Nike Kiger 10 has better ground feel. Lower shoes give more stability. Also add ankle strengthening exercises to your routine. Single-leg balance drills help a lot.
Problem: Shoes Feel Slippery on Wet Rocks
Solution: You need stickier rubber. The Nike Zegama 2 has a grippy compound. It’s designed for wet conditions. Avoid shoes with hard rubber if you run on wet stone surfaces often.
Problem: Feet Get Soaked and Stay Wet
Solution: Nike offers Gore-Tex versions of some trail models. These keep water out in light rain. For creek crossings, skip waterproof. Water gets in from the top anyway. Choose a mesh upper that drains fast instead.
Problem: Heel Slips Inside the Shoe
Solution: Try a different lacing pattern. Use the top eyelet for a heel lock. If the problem continues, the shoe is too wide. Nike trail shoes tend to run true to width. But some models fit wider. Try the Kiger for a narrower fit. Curious how the competition fares? We ranked the top picks in our altra road running shoes article.
Frequently Asked Questions About Nike Trail Trainers
Are Nike trail trainers good for beginners?
Yes. Nike makes several beginner-friendly trail shoes. The Juniper Trail 3 is the best entry point. It costs about $90 and handles light trails well. The Pegasus Trail 5 is also great. It’s a bit pricier at $140. But it works on more terrain types. Start with easier trails and build up gradually.
Can you wear nike trail trainers on roads?
You can, but it’s not ideal. Trail shoe lugs wear down fast on pavement. The soft rubber isn’t made for hard surfaces. Short road sections during a trail run are fine. But don’t use them as daily road shoes. You’ll kill the outsole in weeks.
How often should I replace my trail running shoes?
Replace them every 300-500 miles. Trail shoes wear faster than road shoes. Check your lugs monthly. Look for flat spots or worn tread. Press the midsole with your thumb. Dead foam won’t spring back. Track your miles with an app for accuracy.
What’s the difference between the Nike Pegasus Trail and the Nike Zegama?
The Pegasus Trail 5 is a versatile all-rounder. It works on easy to moderate trails. The Zegama 2 is a race-focused shoe. It has stickier rubber and a more aggressive lug pattern. The Zegama handles technical terrain better. The Pegasus Trail is more comfortable for daily training.
Do Nike trail shoes run true to size?
Nike trail shoes generally run true to size. But you should go up half a size for trail use. Your feet swell on long runs. You also need extra toe room for downhills. Try them on with your trail socks. This gives the most accurate fit.
Are waterproof nike trail trainers worth it?
It depends on your climate. Gore-Tex versions keep rain out in light showers. But they trap heat and sweat. They also take forever to dry once water gets in from the top. Most trail runners prefer breathable mesh. It dries faster and stays cooler. Save waterproof for cold, wet winter runs only.
Final Thoughts on Choosing the Right Pair
Picking the right nike trail trainers doesn’t have to be hard. Follow the steps above. Know your foot type. Match the shoe to your terrain. Get the fit right.
The Nike trail lineup in 2026 offers great options at every price. Beginners should start with the Juniper Trail 3. Experienced runners will love the Zegama 2 or Ultrafly. The Pegasus Trail 5 sits in the sweet spot for most people.
Take care of your shoes. Clean them after muddy runs. Rotate two pairs. Track your miles. Replace them before they wear out completely. Your knees and ankles will thank you.
Now get out there and hit the trail. The right nike trail trainers make every run better. Happy trails!